Gallery 4
Click on image to view in full

Reflection
24x30
Sold
Alone Time
18x24
Sold
Morocco
36x24
Sold

Lonesome Dove
30x24
Sold

In the Garden
24x20
Sold
Repose
20x16

Grace and Beauty
24x20

Brief Encounter
18x24
Discovery
30x42

Eve
36x24
Sold

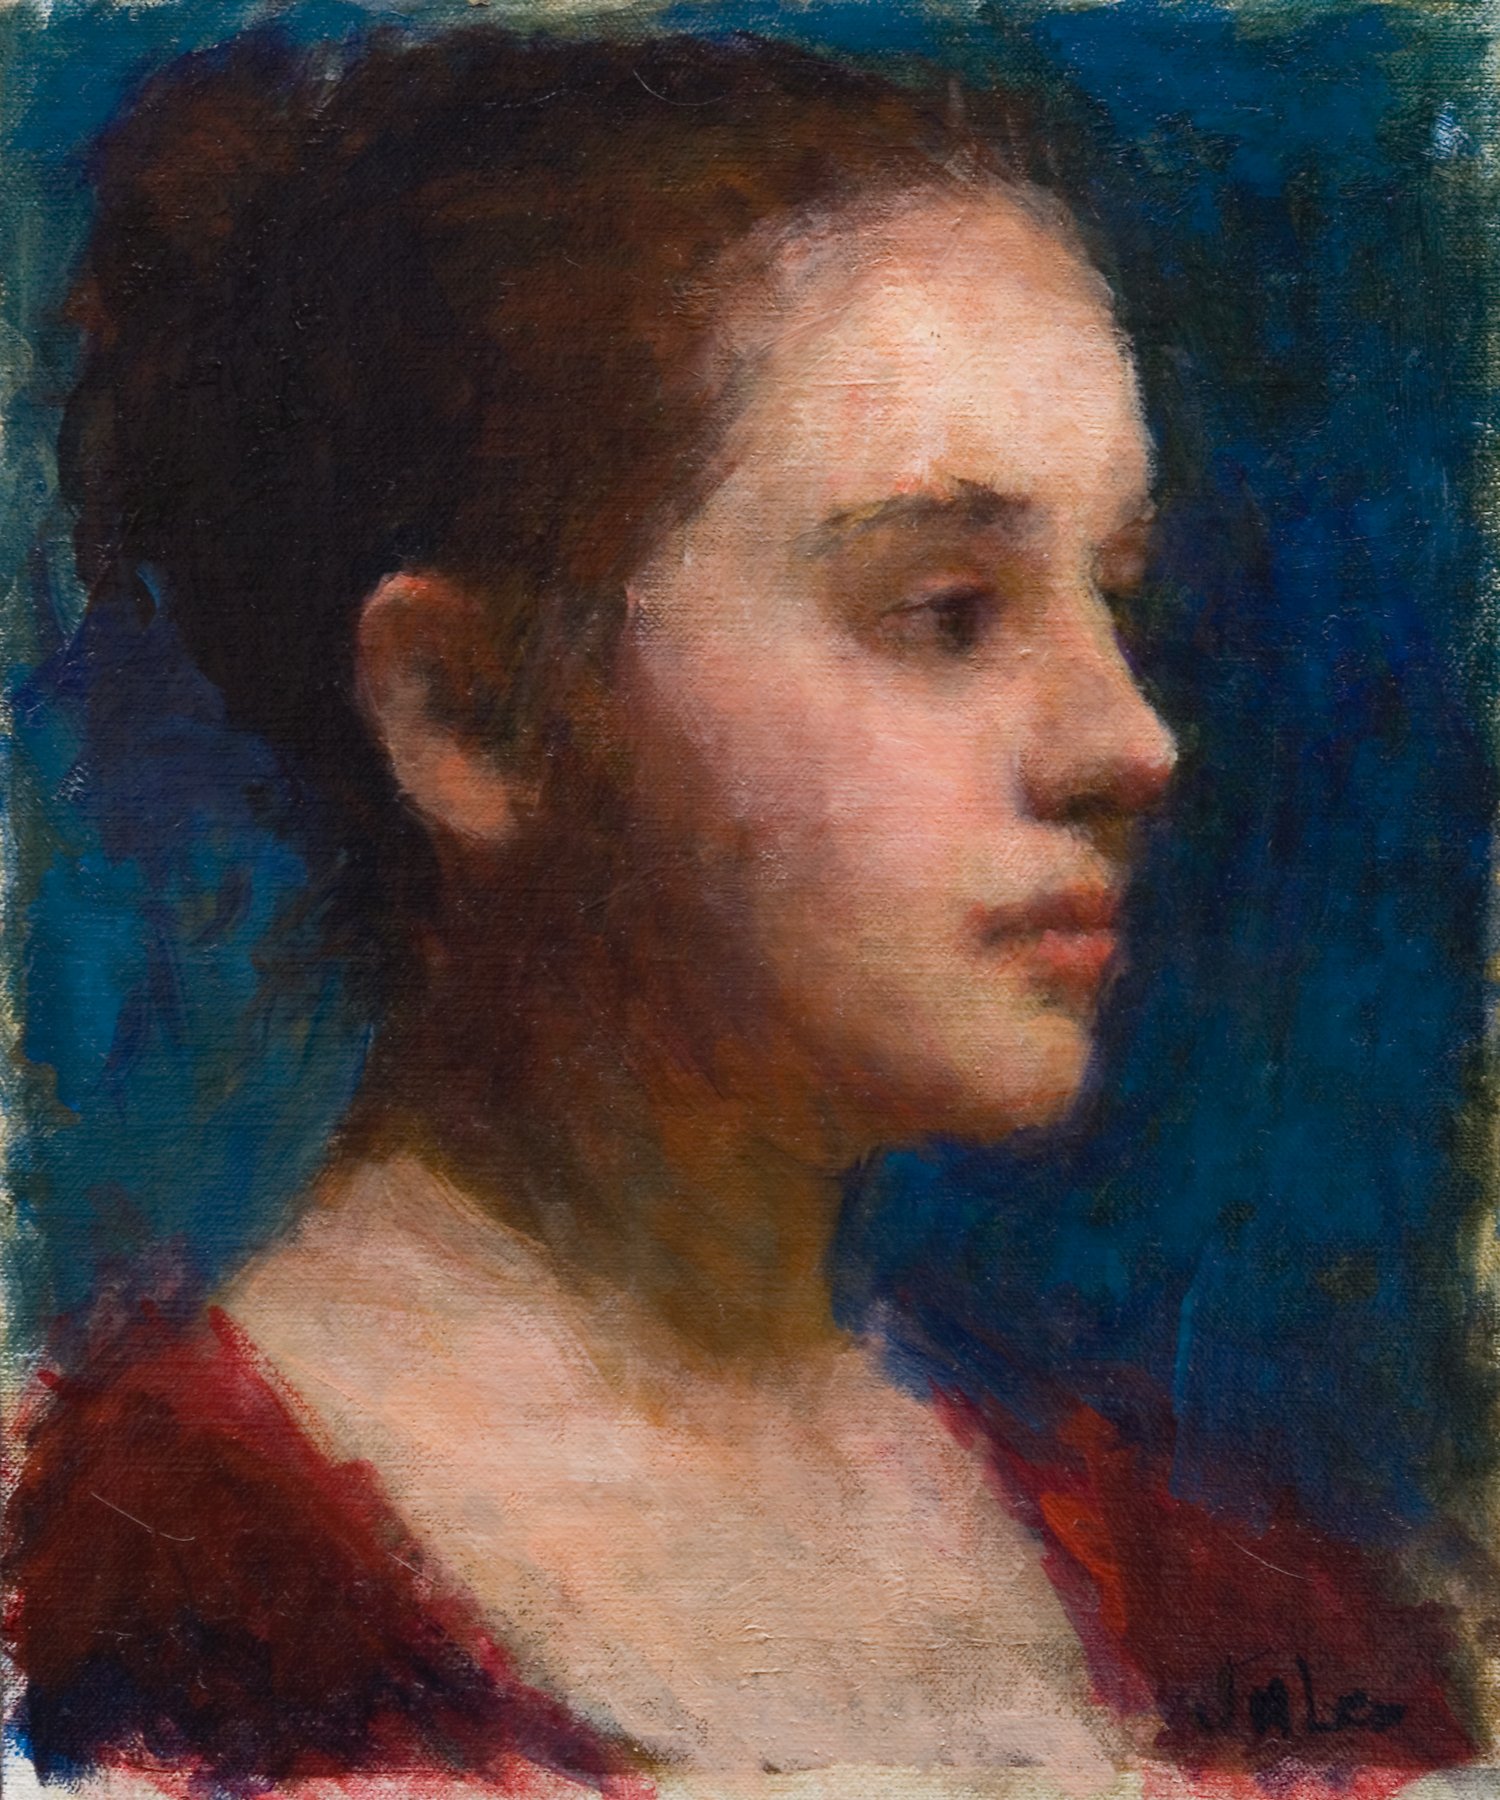
Girl in a Red Dress
24x20

Girl with Hat
12x9

In the Gallery
20x24

Joella
14x11
Sold

Morning Light
24x18

Krakow
24x30
Sold
Portrait of a Young Girl
12x10
Sold

Kari
18x24
Sold

Ripe Fruit
24x16

Samantha
24x18

Shop Girl
24x20
Sold

The Poem
48x48
Sold

Two Dancers
30x20