Gallery 2
Click on image to view in full
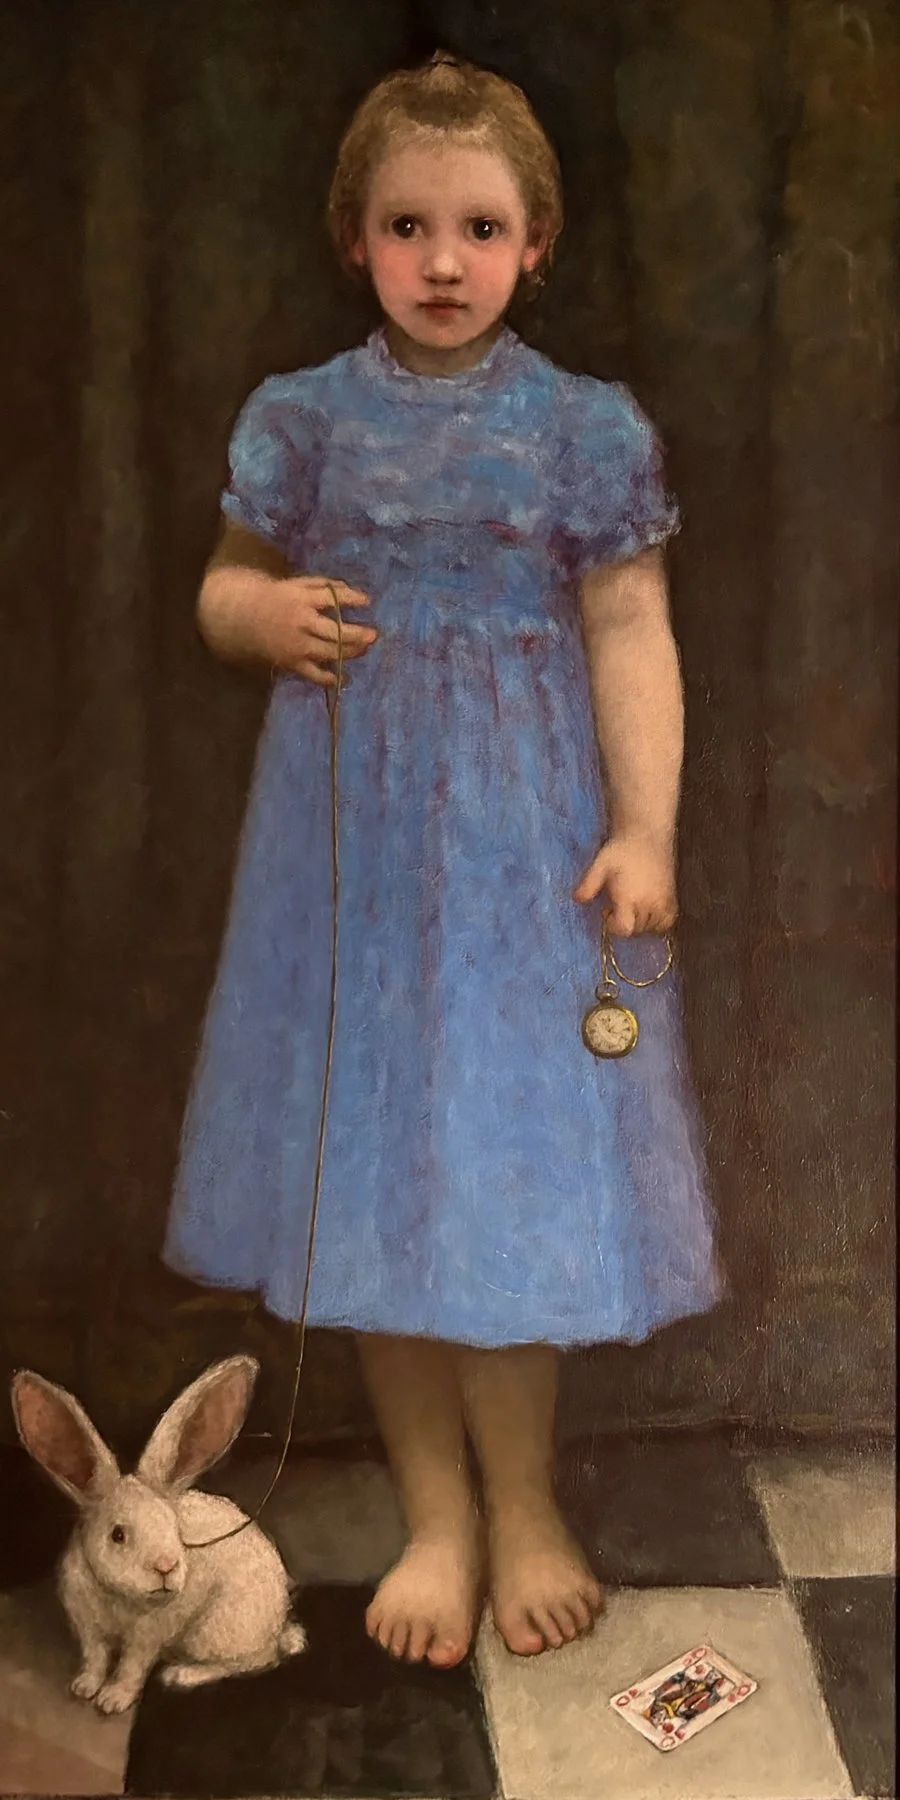
Alice
48 x 24

Red
48 x 24

Bo Peep
48 x 24

Three Monarchs and a Princess
36 x 24
Ladybird
30 x 24

Up the Stairs
32 x 24
Sold

Rough Seas
30 x 40

Princess of the Prairie
36 x 24

Shooting Star
24 x 30

The Pirate and the Partridge
36 x 24